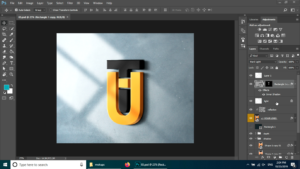
To download logo mockup free, click here.
press the subscribe button on the next page and your download will get started.
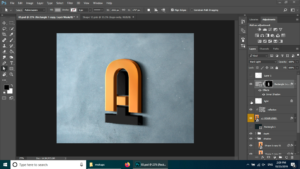
To understand the details of the mockup psd file read the description. as you can see all the screenshots of the logo mockup psd file in photoshop.
Mockups have layers and every mockup is a Photoshop file. In layers we can place our logo or our object and this converts it to a realistic 3d mockup. Mostly the mockups are realistic kind of 3d object that you see .
To download more mockups click here
Make sure that you have all the layers when you download logo mockup free.
FLAT LOGO FILE FROM MOCKUP
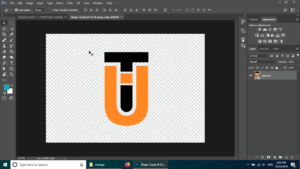
To see how it looks without the mockup, for this i will just double click over here in this file, which is named “your logo here”
SMART OBJECT IN PSD MOCKUP
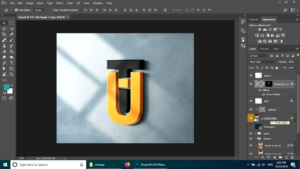
I will double click and here you can see that this is a plain 2d logo or 2d file. It has no shadows or depth and extrusions. I just placed this file over here and to save this file I am pressing CTRL+S . This will update the logo mockup you just downloaded for free.
UPDATING SMART OBJECT IN MOCKUP
After that when I go back to the main file. where i can see this logo is placed on the wall and has some extrusions and shadows and lightning effect. How we can just remove some of these or a few of these, or all of these. for example I will just go to the first layer.
The layer named ” layer 1” and there is an eye for the visibility . I will just click on the eye and you can see that the lightning effect on the logo is removed form the mockup download free.
LIGHT LAYER IN MOCKUP
It has lower down to some extent. So here if I press the eye or make it visible. as You can see some lightning of the window on the logo. do not make any other changes to the logo mockup download file you downloaded free .this will make mess.
CLIPMASK IN PHOTOSHOP MOCKUP
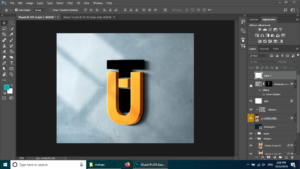
I am going to remove this one. The next layer is the clipmask so what is this. This is making the face of the letter T.So to make it more 3d. there is a layer and you will have to change this black clipmask layer every time if you are going to change the file somehow. So if I go to the smart object over here, which is in the logo mockup file .(logo mockup download free)
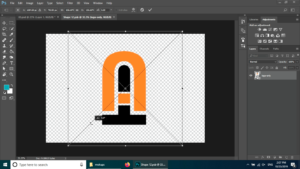
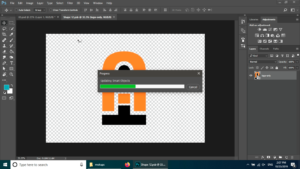
When I press CTRL+T and I just rotate this one at 90 degree, or 180 degrees actually. I press ENTER, and press CTRL+S , as a result what do I get, it is updating smart object, and this will effect the main file. in short What ever I do in the smart object will effect the main file. And when I go to the main file, it takes a little time, because the mockups are some how heavy for the system.
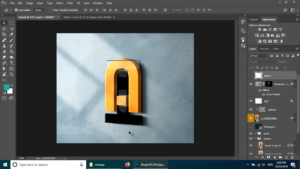
Here you can see the mockup is upside down, but the one layer that I told you was for the face of the design/ object.
HOW TO FIX IT
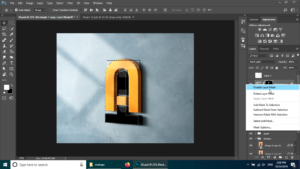
You will have to click on this layer while pressing and holding down the CTRL button and then clicking on this “clip mask layer” , right click on it delete layer mask. Now as we have selected the layer smart object, in addition I will go down and click on this button that says “ add layer mask” and this will create the face of the logo. as We don’t need this overlayer, we will go and use the black marker/ brush over here to remove this from the scene. as a result you have much better results, much better feel. Now this layer is for the face of the logo.

MORE LAYERS FOR LIGHT IN 3D MOCKUP
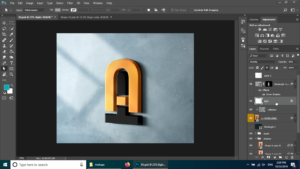
Now the next layer is light. That is the main light on the background and on the logo as well. Because this layer is on top of the 3D object/ smart object. It will remove this one if you remover overall light. This will remove the base of the logo.
LAYER FOR TEXTURE IN MOCKUP
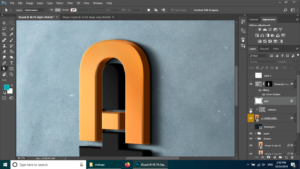
Now this file for the texture. If I get closer, I will see there is some texture on the file and I remove this one, I see no texture on the logo.
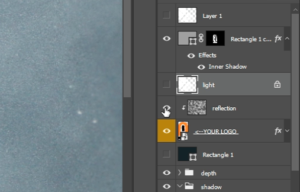
And this actually has the arrow that is pointing down to the lower layer. So it only effects the layer and not all other layers . Again this is the smart object.
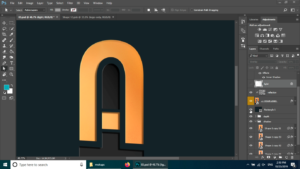
This layer is the background , we don’t need this one.
DEPTH OF THE LOGO IN MOCKUP
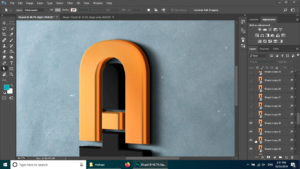
This one is for the depth of the logo. For instance if I open this group , I see lot of files that are making the depth or extrusion of the logo. So if I remove this one, you will see very small change from the upper side. To clarify I am removing one by one and You will see more changing taking place. I am removing these eyes from upside down and I am bringing them back but If I do it the other way the is from the bottom. Then You will see that the extrusion is coming low. I hope that you understand this one.
SHADOW OF THE LOGO IN MOCKUP

The next group is for the shadow. For instance If I remove the eye you will see that the shadow is gone. If I bring it back then you can simply go and make it lighter and lighter by these layers.
BACKGROUND FOR THE MOCKUP

background folder is at the last place and I just opened the folder. There is some texture or some lightning on it, to clarify I will zoom out so you can see it better. Here is very light color for the background. You can make it as a png and you can go up and remove these lights however keeping the face and texture. moreover I will keep the extrusion as well. I will close the folders. And now I can save this file as a png that is without any background.
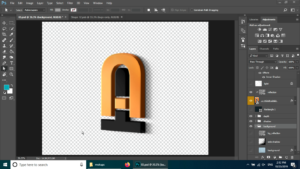
NEXT MOCKUP download free
This was all for this mockup. I will get back to you with more mockup and more details for the files.
